Hosted Payment Page (HPP)
The Hosted Payment Page lets you accept payments without handling card data on your servers. Your site creates an order via the API, redirects the customer to the NetValve-hosted checkout page (or loads it in an iframe), and receives the result when the customer is redirected back.
Contact the NetValve team to ensure the HPP configuration steps have been completed and you have credentials for API authentication.
How It Works
The HPP operates in two modes:
- Full-page redirect — the customer leaves your site, pays on the NetValve page, and is redirected back
- Slim mode (iframe) — the payment page loads inside an iframe on your site
HPP Transaction States
Payment Page
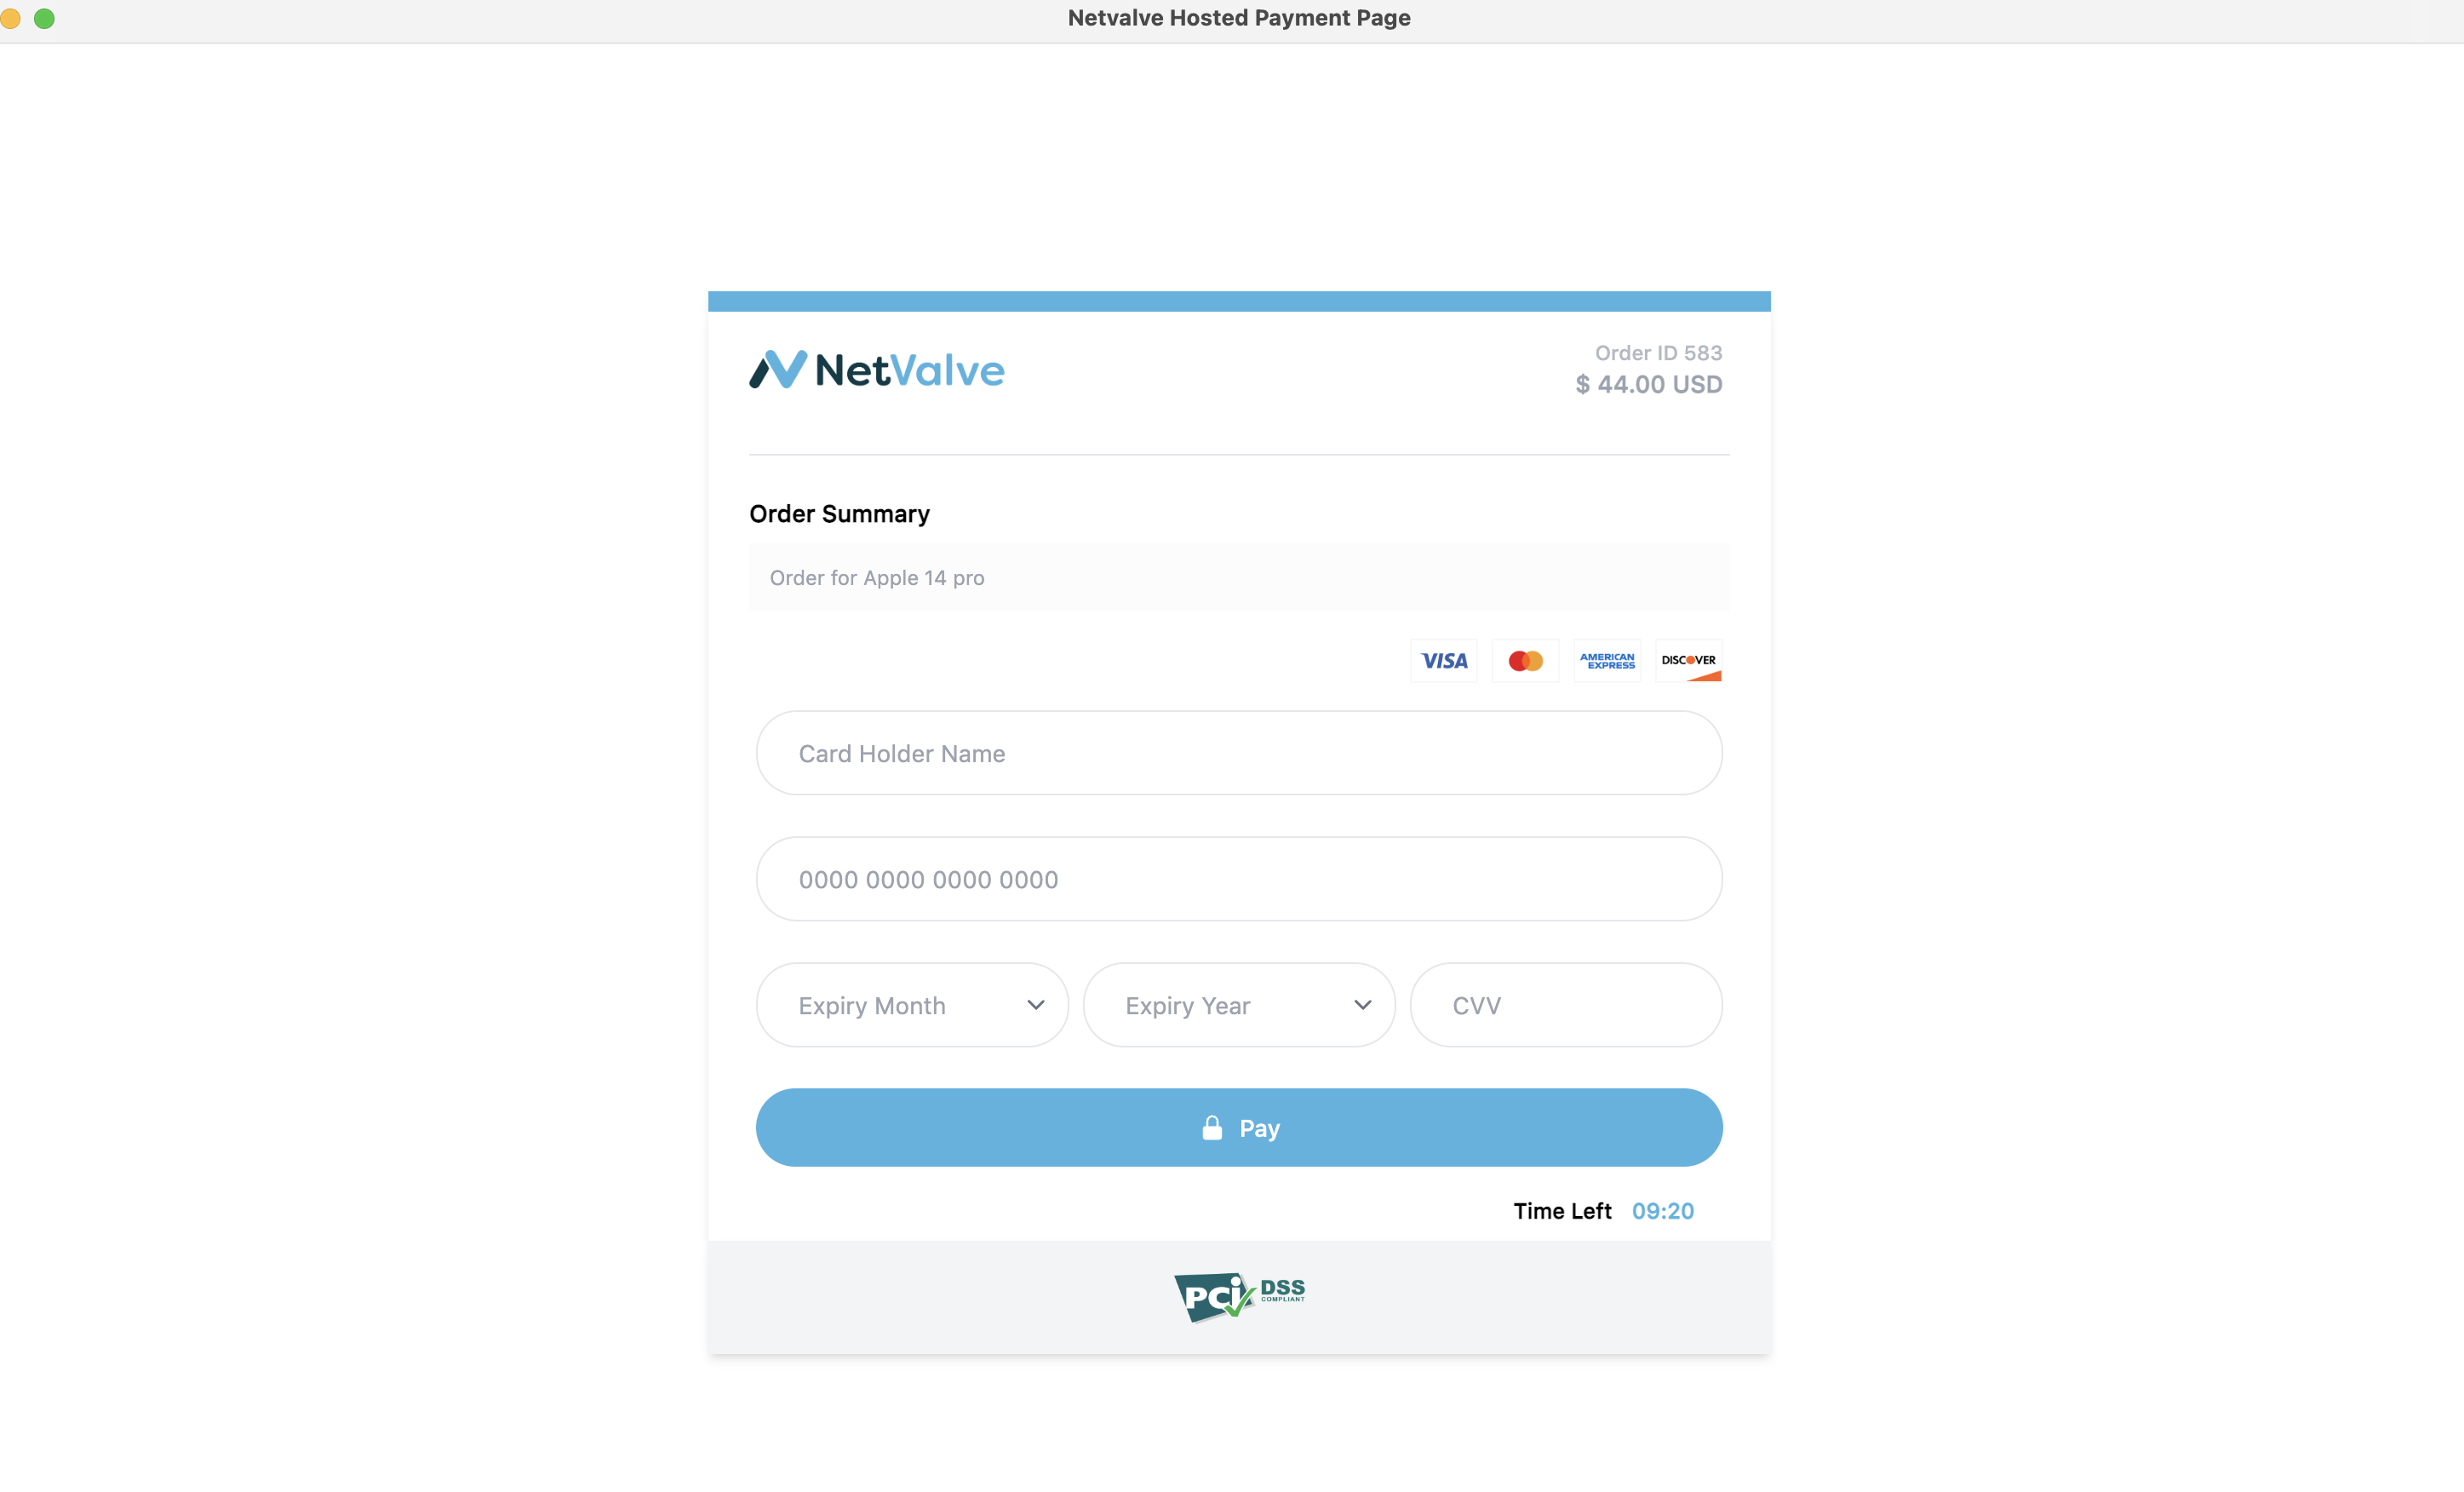
Integration
Prerequisites:
- API credentials from the NetValve team
- Supported payment options configured (card, Apple Pay, Google Pay)
- For digital wallets, additional configuration is required — contact the NetValve team to enable them
Step 1: Create Order
API URL: hppApiUrl/hpp/order
HTTP Method: POST
Request Body: JSON
{
    "amount": 44.00,
    "currency": "USD",
    "midId" : {{midId}},
    "clientOrderId": {{clientOrderId}},
    "orderDesc": "Test order",
    "successUrl": "https://website.com/success.html",
    "cancelUrl": "https://website.com/cancel.html",
    "failedUrl": "https://website.com/failed.html",
    "pendingUrl": "https://website.com/pending.html",
     "customerDetails": {
        "customerAddress": "123 Main St",
        "customerCity": "New York",
        "customerCountryCode": "US",
        "customerEmail": "docs@netvalve.com",
        "customerIp": "203.0.113.1",
        "customerName": "John",
        "customerLastName": "Doe",
        "customerPhone": "+12025551234",
        "customerState": "NY",
        "customerZipCode": "10001"
    }
}
As a new 3DS Visa mandate, the customer needs to send an email and phone in the below format to avoid 3DS compliance issues.
    "customerEmail": "docs@netvalve.com",
    //(Customer Phone in the format of countrycode-phone . e.g +12025551234)
    "customerPhone": "+12025551234",
Step 2: Redirect Customer to Payment Page
When the order has been successfully created, redirect the customer to the redirectUrl from the response.
{
    "traceID": "98e151b7-fca4-4e2a-8597-ab58512f2d41",
    "responseTimestamp": "2025-09-09T06:54:38.626+00:00",
    "orderId": 123445,
    "transactionID": ZZZZ,
    "responseCode": "GTW_1000",
    "responseMessage": "Transaction Approved/ Request Successful.",
    "orderState": "CREATED",
    "redirectUrl": "https://checkout.uat.sandbox-netvalve.com?paymentToken=...",
    "midId": YYYY,
    "netvalveMidId": "XXXXX"
}
Payment Options
To control which payment methods are shown, append the paymentOptions query parameter to the redirectUrl:
| Configuration | Query Parameter |
|---|---|
| All available methods | paymentOptions=applepay,googlepay,card |
| Digital wallets only | paymentOptions=applepay,googlepay |
| Apple Pay only | paymentOptions=applepay |
| Google Pay only | paymentOptions=googlepay |
Ensure that responseCode is GTW_1000 before redirecting.
Step 3: Receive Response
Once the customer completes the payment, NetValve redirects them to one of the URLs you provided:
| Outcome | Redirect URL |
|---|---|
| Successful payment | successUrl |
| Cancelled payment | cancelUrl |
| Failed payment | failedUrl |
| Pending payment | pendingUrl |
Step 4: Webhook (optional)
You can receive a server-to-server webhook from NetValve upon payment completion. Contact the NetValve team for webhook configuration. See the Webhook Message guide for payload details.
Exception Cases
If you don't receive a valid response or need to verify transaction status, use the Inquiry API.
Pending Response
If you receive a pending response, poll the Inquiry API until a final status is returned.
{
    "traceID": "965c2c75-b29d-41fc-aa3a-6d40b9f3fbb0",
    "responseTimestamp": "2024-04-25T13:48:49.959+00:00",
    "transactionID": 22,
    "responseCode": "GTW_1002",
    "responseMessage": "Transaction status is Pending.",
    "responseCodeType": "PENDING"
}
API Error Codes
See Error Codes for a full list of response codes.
CSS Customization
You can override any styling on the HPP using CSS selectors and variables.
Color Variables
:root {
    --netvalve-primary: #4cb3e0;
    --netvalve-secondary: #003c47;
    --netvalve-primary-hover: #3781a0;
    --netvalve-text-dark: #374151;
    --netvalve-text-light: #9ca3af;
    --netvalve-text-error: #dc2626;
    --white: #ffffff;
}
Element Selectors
/* Layout */
#nv-color-bar {}              /* Top bar background */
#nv-form-container {}          /* Form container */
#nv-form-inputs-container {}   /* Form inputs container */
#nv-timer {}                   /* Session timer */

/* Payment methods & buttons */
#nv-payment-method {}          /* Accepted card type icons */
#nv-payButton {}               /* Pay button */
#nv-cancelButton {}            /* Cancel link */
#google-pay-button-container {} /* Google Pay button */
#apple-pay-button-container {}  /* Apple Pay button */

/* Form fields */
#holderName {}
#cardNumber {}
#expiresMonth {}
#expiresYear {}

/* Classes */
.nv-orderid {}                /* Order ID and amount in header */
.nv-input {}                  /* All input elements */
.nv-input-select {}           /* All select elements */
.nv-form-error {}             /* Validation error messages */

/* Other */
img[data-testid="custom-logo"] {} /* Logo in form header */
form {}                           /* The form element */
Download the starter CSS file: hpp-css-overrides.css
After modifying the CSS file, it must be uploaded by a NetValve Admin via the HPP Payment Page Layout settings in the backoffice.